Installation instructions
These instructions are for the previous revision of the splined coupler. Find instructions for the latest revision here
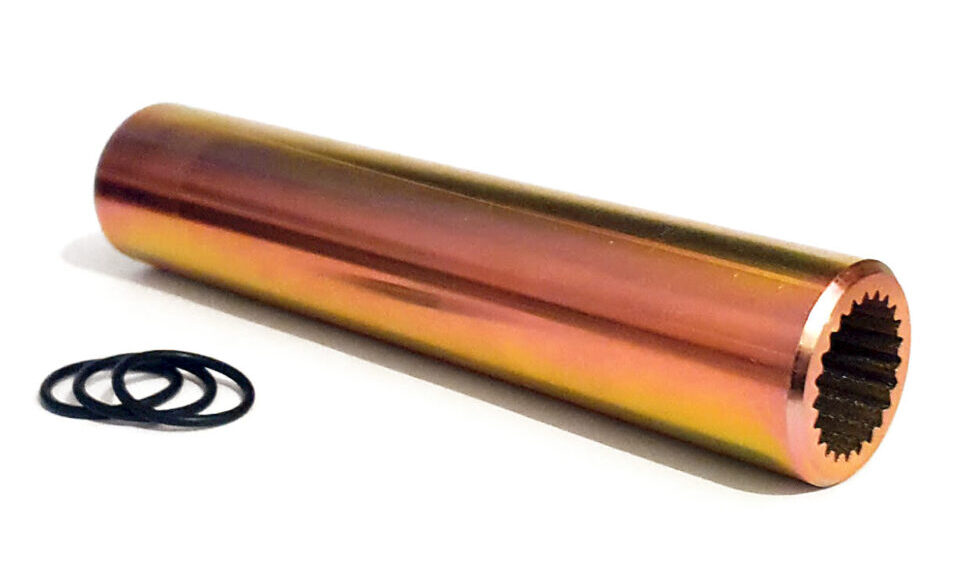
Package Contents:
- Gearbox coupler
- 3x Rubber o-rings
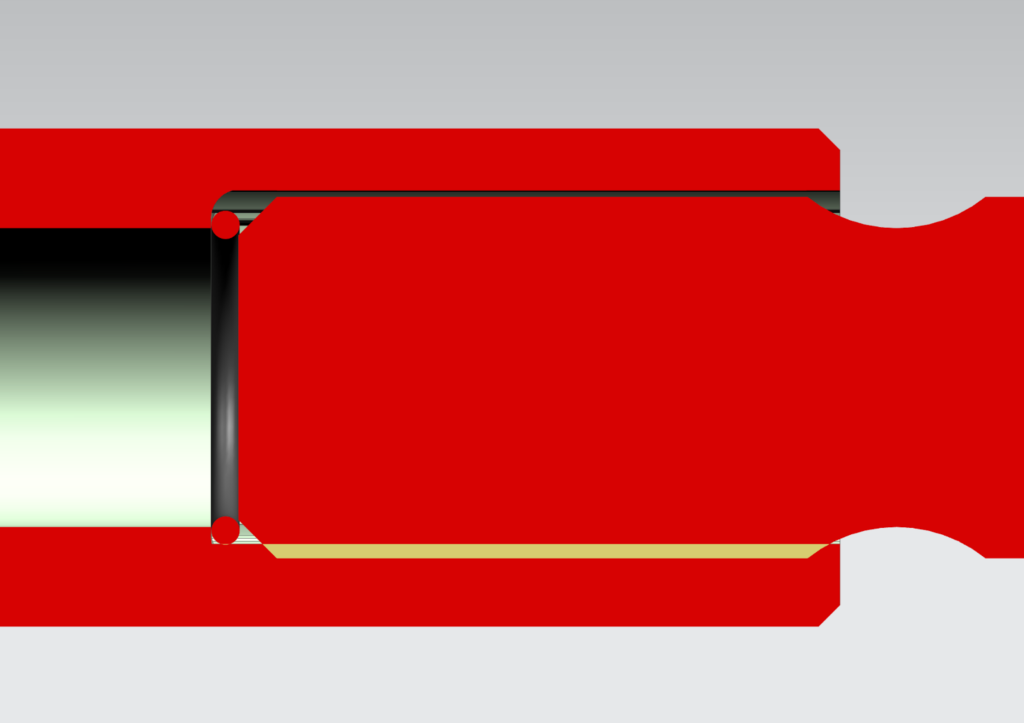
Below is a cutaway of the coupler and two shaft ends in their installed positions:
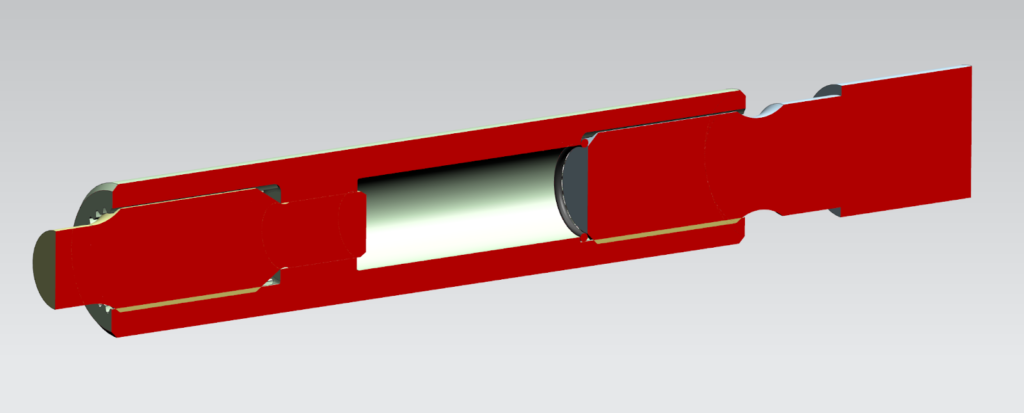
On the left is the audi input shaft, on the right is the end of the 944 torque tube shaft
The 944 torque tube driveshaft can be moved axially and therefore may be in a different location on every car. The driveshaft location will need to be measured and in some cases adjusted.
Measurements should be taken from the gearbox mating flange as pictured below:
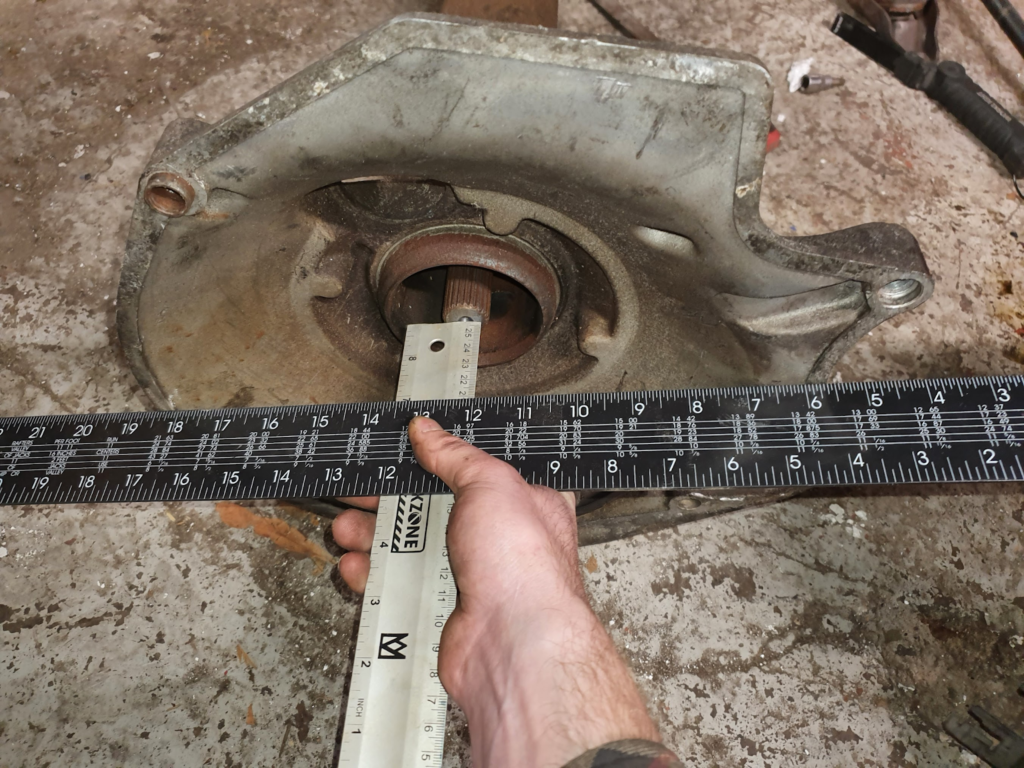
A straight edge across the mounting face will give a reference to measure up to the end of the driveshaft. Please ignore that the silver ruler is backwards in the image
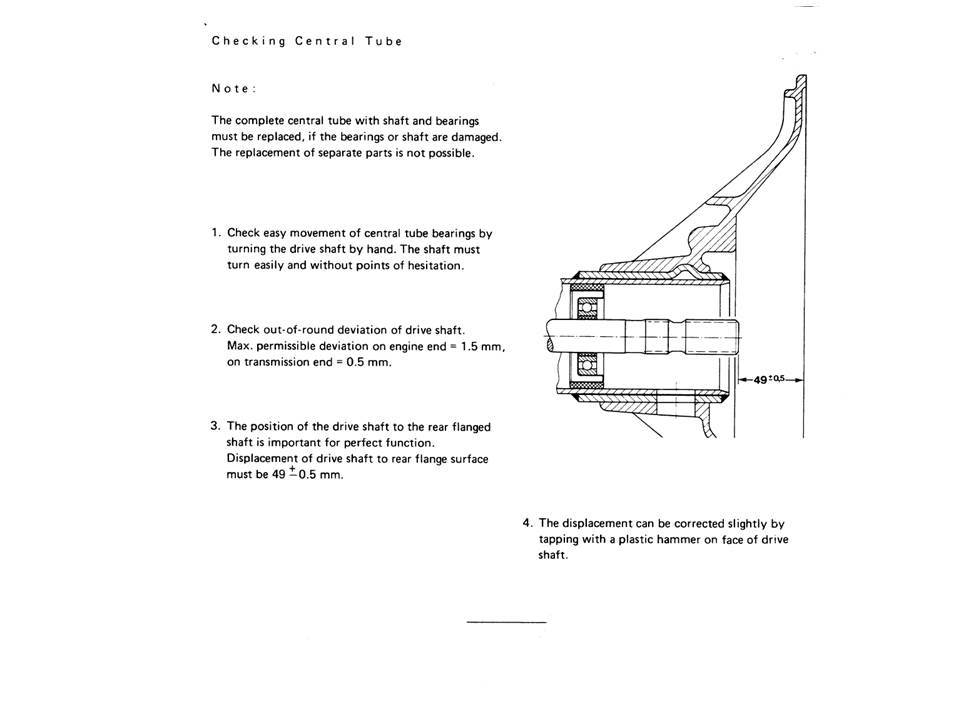
The minimum dimension for this coupler is 48.1mm without modification. The torque tube driveshaft can be moved by placing a block of wood on the end and hitting it with a hammer if required. There are no features to locate it inside the tube. I do not advise this while installed in the car as you may push it too far and into contact with the crankshaft or you could damage the pilot bearing if the shaft isn’t aligned with it. There are people online doing it with the torque tube in the car however. Below is the factory spec for the torque tube:
Use the table below to determine how many o-rings to install in the coupler for your vehicle
| Measurement | Less than 48.1mm | 48.1-50.5mm | 50.6-52.5mm | 52.6-54.5mm | More than 54.5mm |
| Contact me for options | No o-ring | 1 o-ring | 2 o-rings | 3 o-rings |
O-rings are installed against the shoulder inside the coupler and prevent the coupler from wandering up and down the splines during operation. They are 2mm in diameter and 19.5mm ID if replacements are needed. One o-ring can be seen installed in the image below. They should not be in compression and the coupler should still move slightly axially when everything is assembled. If there is any axial load on the gearbox it will cause damage.
If you have an engine conversion that places the torque tube driveshaft <48.1mm from the mounting face then there are OEM Audi spacers that can be used to move the gearbox back. These are available in different thicknesses. Please message me if you need advice on this
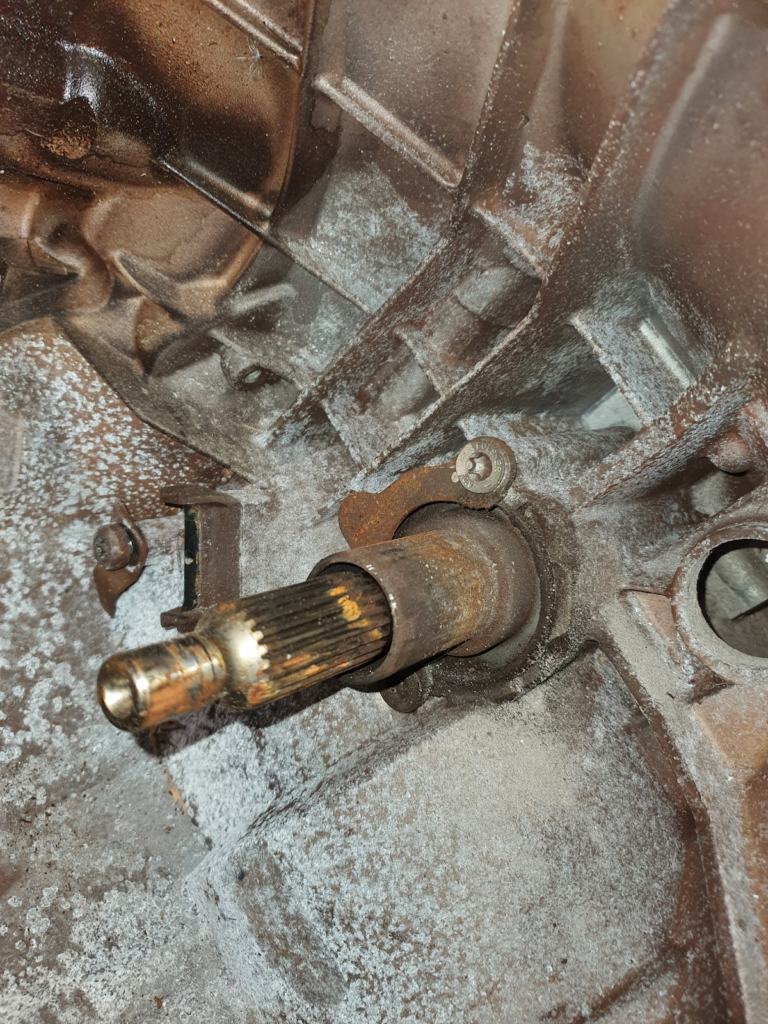
Before the coupler can be placed on the gearbox, the release bearing and release arm etc needs to be removed. In addition, the release bearing guide tube needs to be shortened.
The release bearing guide tube is held in by either 2 or 3 bolts and incorporates a gearbox oil seal. The gearbox should be angled so that the input shaft is facing up to prevent oil escaping. It is a good idea to clean the area before removing anything as there is often dust and dirt that can fall inside the gearbox when the tube is removed.
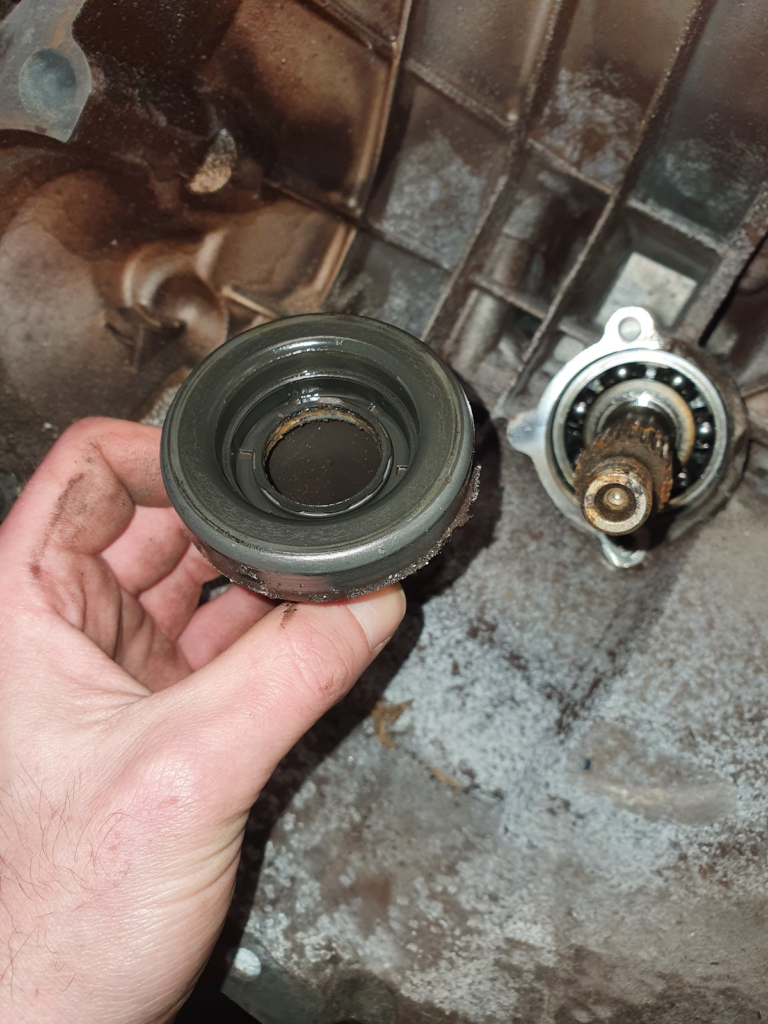
Shown below is an 0A2 guide tube but the 01E, 01X etc should all be treated as the same:
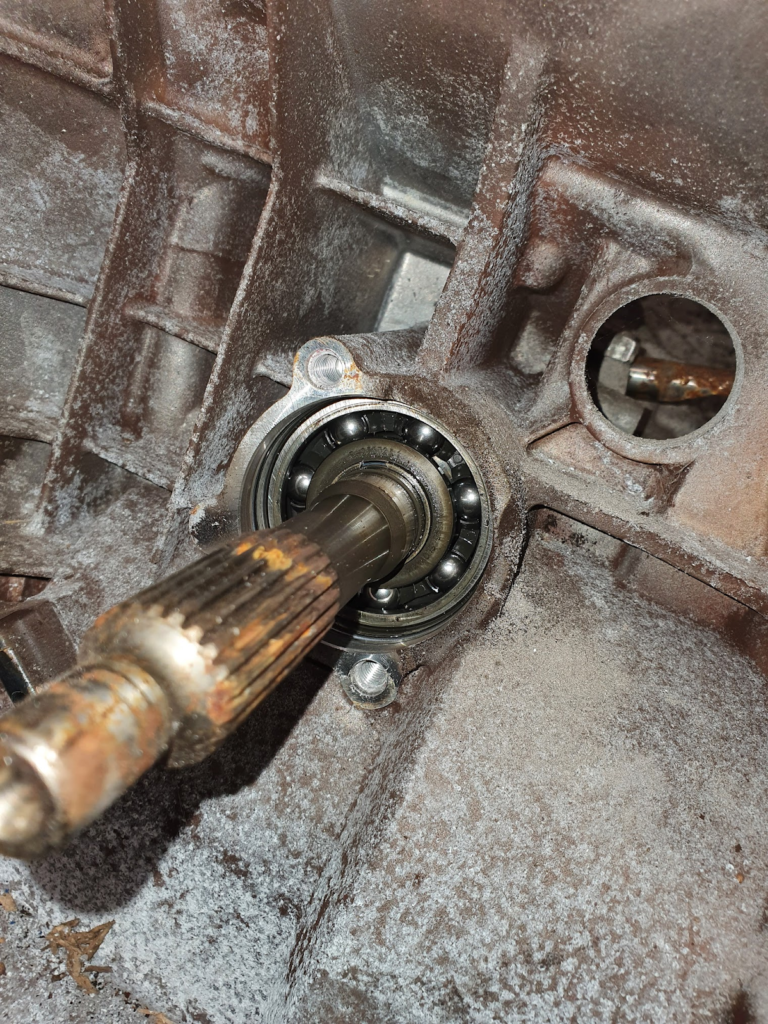
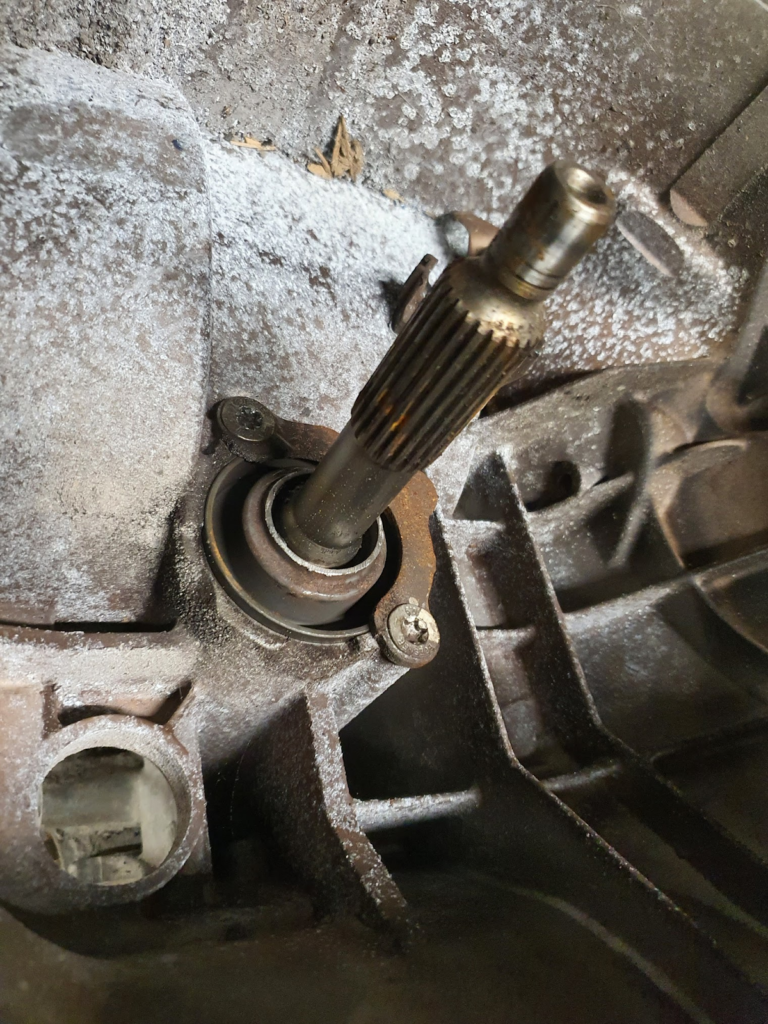
A view of the gearbox with the guide tube removed:
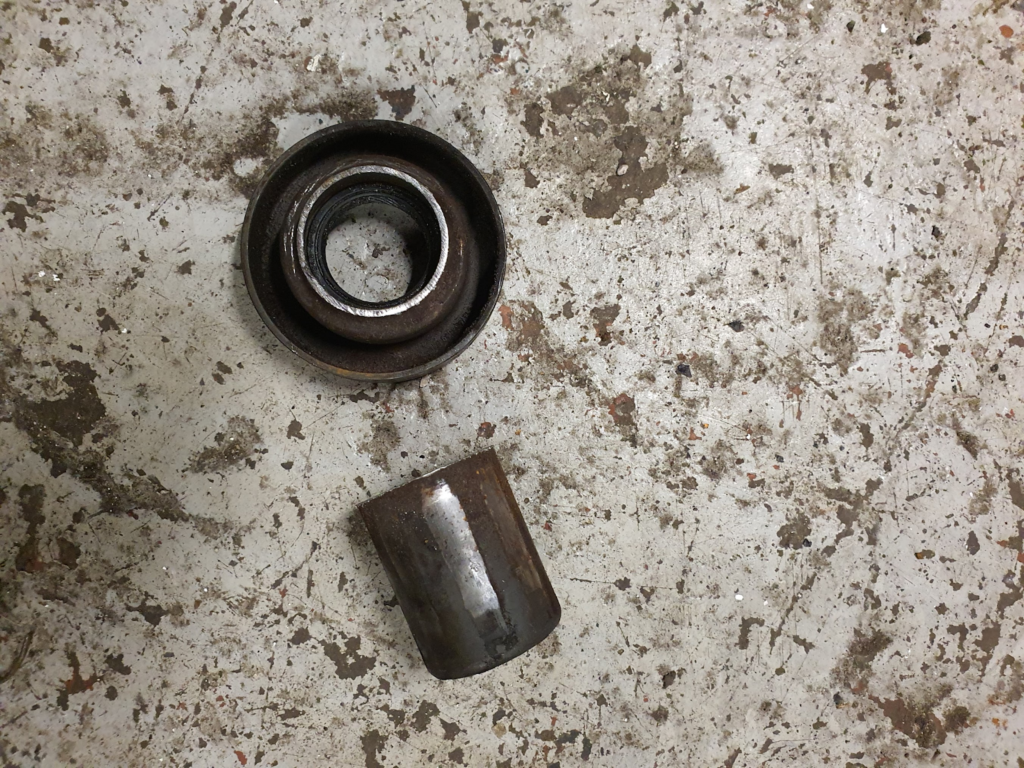
The back side of the guide tube showing the seal. Notice the dirt and grime around the rim that was mentioned earlier:
Cutting down the guide tube. Be careful not to cut so far down as to compromise the seal retention. This cut does not have to be accurate or straight
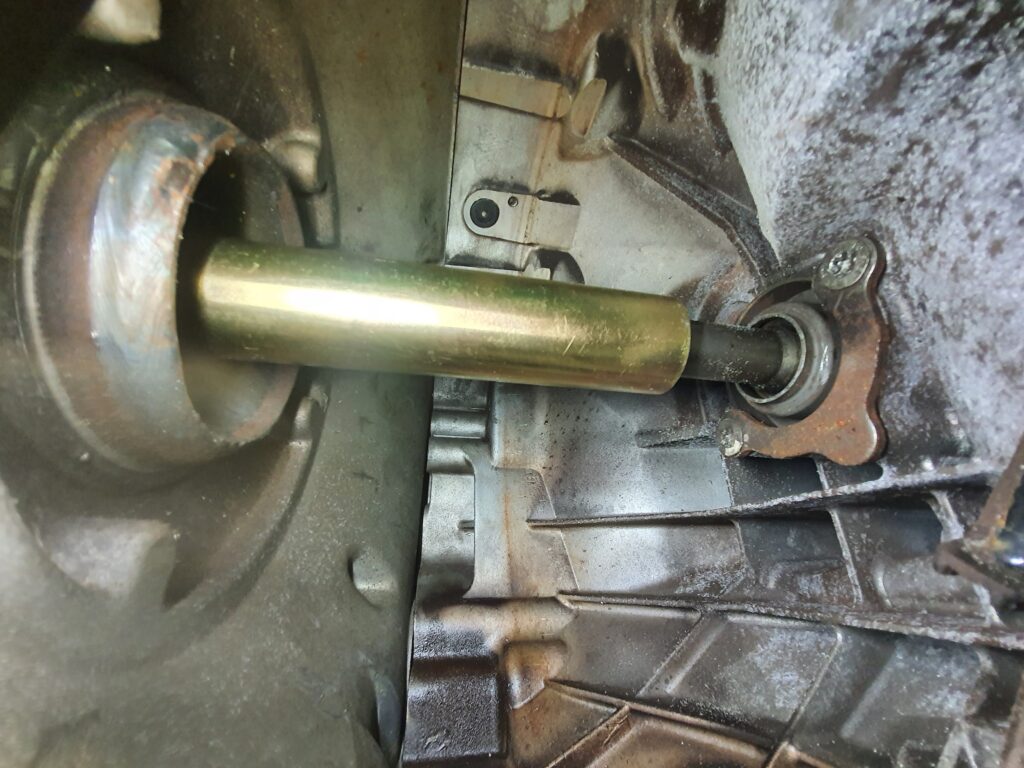
Guide tube reinstalled and the whole of the splined area exposed:
Below is an image of the coupler installed to give an idea of how much of the guide tube needs to be removed:
The coupler should be installed on the gearbox before the gearbox is bolted to the torque tube. You should ensure it is fully bottomed out on the splines of the gearbox before proceeding. The gearbox spline is a tight fit and your gearbox splines may require cleaning with a wire brush if there is any dirt or corrosion.
Once everything is installed it is very important to check that the coupler is floating and can be moved slightly axially. Axial load on the gearbox will cause damage. You have been warned!